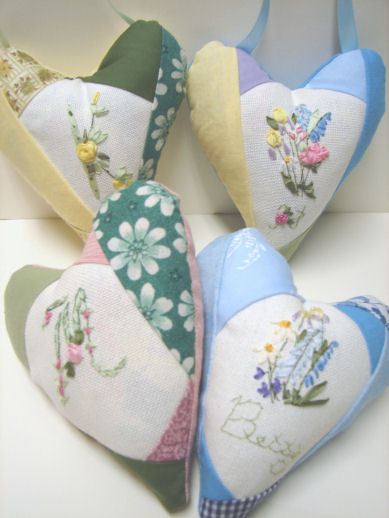
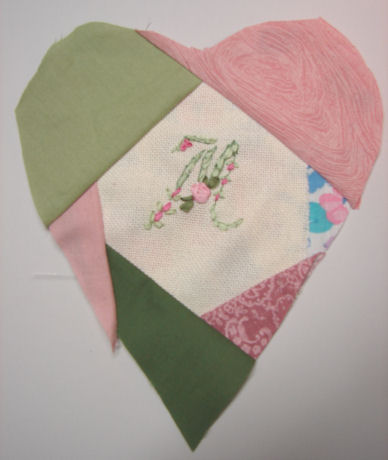
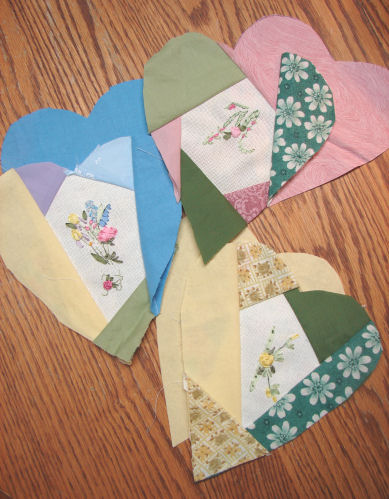
 Crazy Heart Pillows (For sachets, doorhangers, etc.) (Silk Ribbon Embroidery motifs from books by Barbara Baatz, Judith Montano, Anne Cox, and Deanna Hall West). This idea would be great for a small Cross Stitch Monogram, a small Redwork or Embroidery motif, a Fabric Photo, or other small treasure. Finished size: 5 7/8" h x 4 6/8" w. at widest points.
Directions
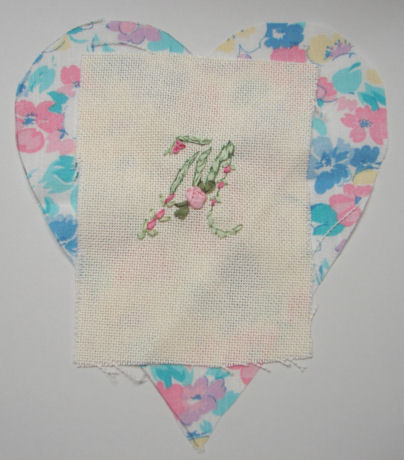
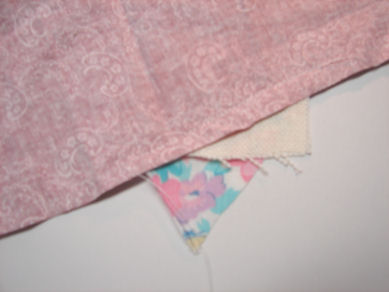
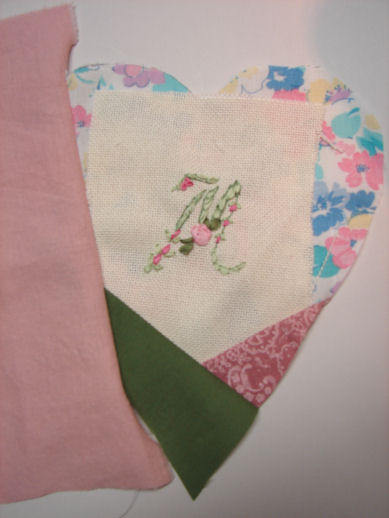
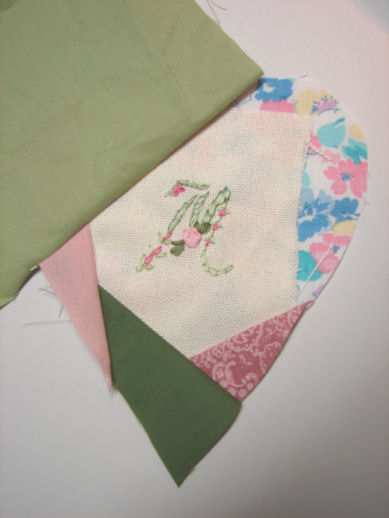
1. Prepare Heart Fabric Foundation. Cut out heart template, and use cardstock or cardboard to trace a heavier template. Trace the heart onto any scrap fabric that you don't plan to see. (Note: This project used a print background but I would recommend using white or off-white solid fabric for the back). Cut out the heart. Center needlework piece over the center of heart- it's not necessary to trim edges at this point.
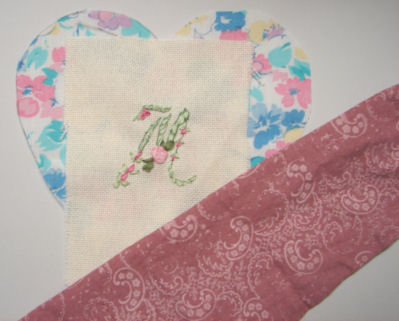
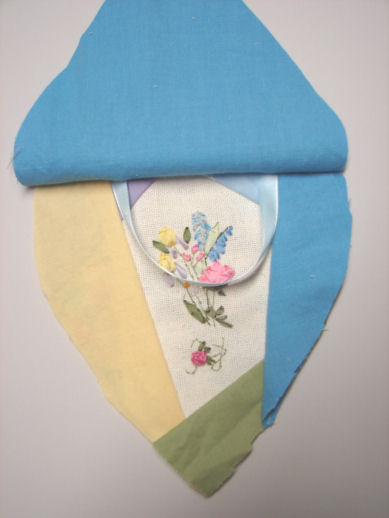
2. Crazy Quilting Steps Choose about 4 or 5 cotton fabric scraps which are complimentary to the center focus of your pillow. Light and dark are nice for contrast. Rectangles will be approx. 7 x 3" or the size you need to #1. Sew from heart edge to heart edge, and #2. leave plenty of room when fabric is opened up to cover heart before trimming. There is no need to hem fabrics. You will be sewing fabrics right side facing to the right side of embroidery piece, with the bulk of fabric to the inside, and the seam on the outer edge. You place, pin, and sew as you go. Here are the steps you'll repeat which I'll show in the following illustrations.
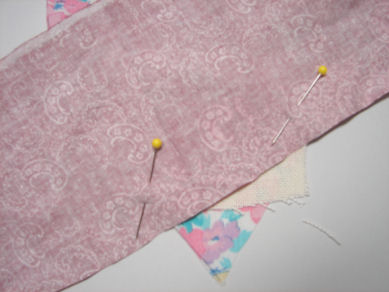
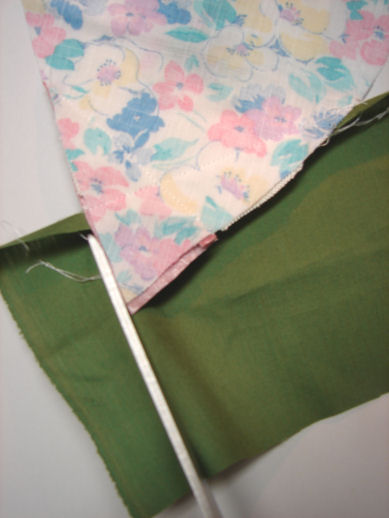
Plan where you would like your first fabric piece to be. Be sure that you will not be covering your center focus piece. Turn fabric over, place pins on both edges of heart. This will be your sewing guide- sew from pin to pin, fabric edge to fabric edge. Notice how there is enough fabric at the top to cover the bottom of the heart when it is folded out, right side facing.
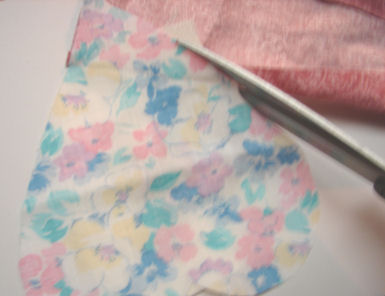
Seam made. Now, flip fabric over and finger press so that right side is facing up.
Turn heart over, trim fabric evenly with heart.
First fabric sewn.
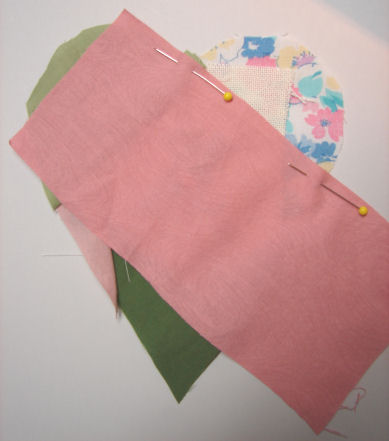
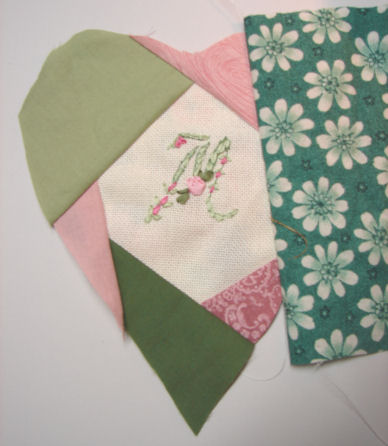
Decide where your next piece will be. Overlap this fabric over the first, covering a different area. (Still being careful not to sew over center). **Remember that you need enough fabric to sew from heart edge to heart edge, and to cover the opposite edge of the heart when right side is facing.
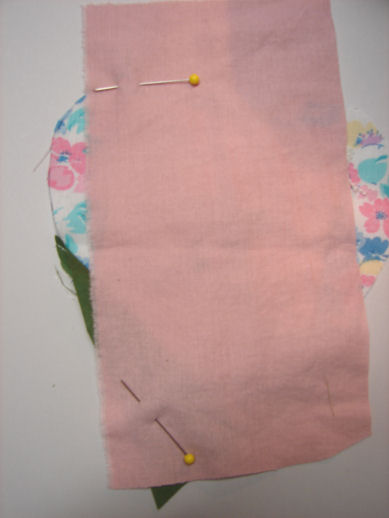
Pin edges (this helps to avoid accidents and to ensure exact seam placement). Sew from pin to pin.
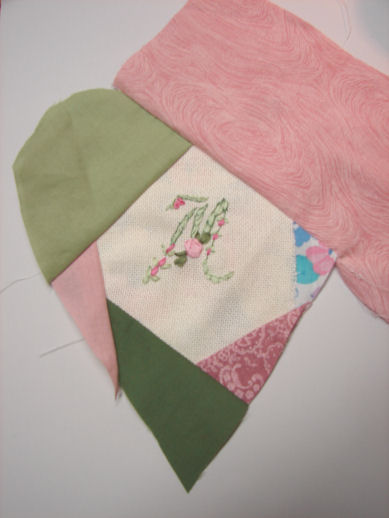
Seam flattened out to right side.
Turn heart over- trim all fabric evenly to heart.
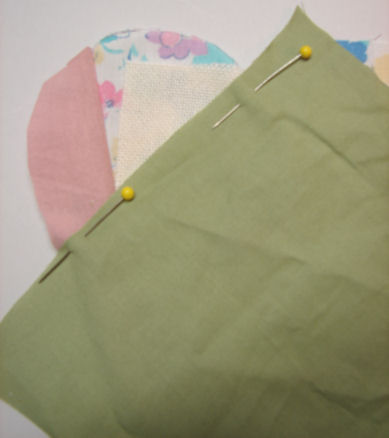
Plan next fabric piece to overlap last piece, edge to edge, with enough to cover opposite edge of heart. Pin, sew, turn over, flatten out, turn over, and trim to heart edge.
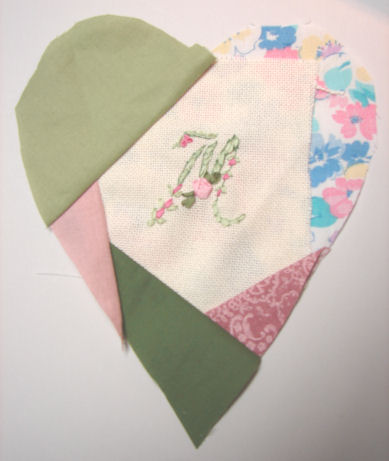
Let's go on to the next piece, repeating same steps: place, pin, sew, flatten out, and trim to heart edge on back side.
Next- repeat the same steps as you go. (Be careful not to trim too deeply into heart center on back side).
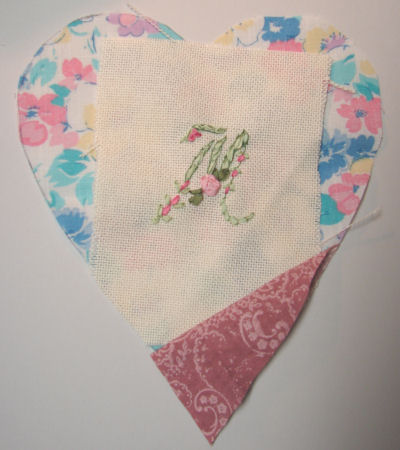
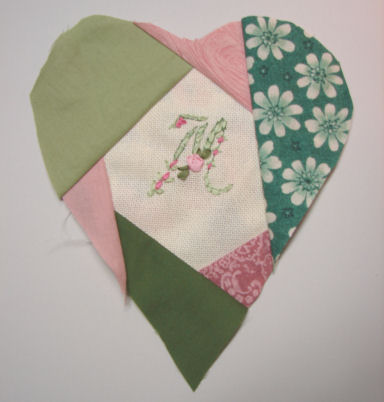
Next- notice how the last fabric piece will overlap the first.
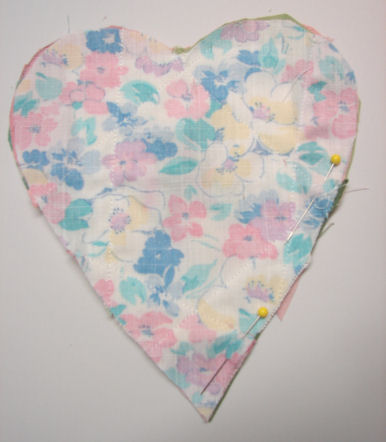
Finished! Now press your work so that the seams of fabric are flat.
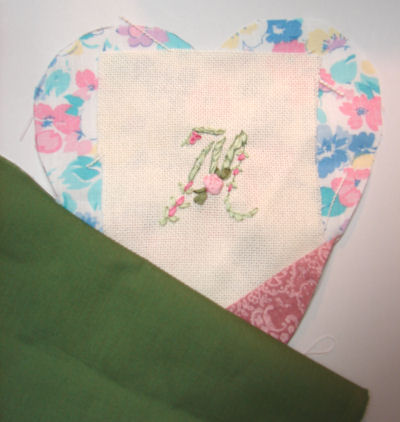
1. Sewing The Pillow Using the heart template and one of your fabrics from the front, cut out a heart backing piece.
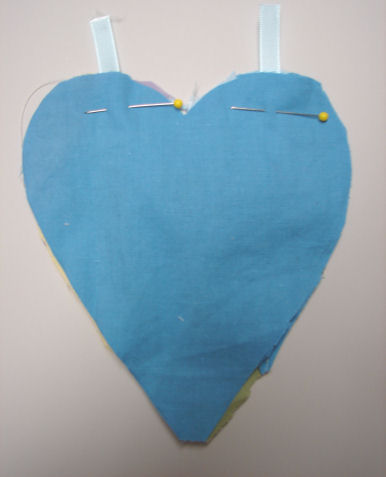
Decide if you want a hanger for your pillow. For a hanger, cut a narrow piece of regular ribbon (not silk ribbon) to 8 1/2". With the right side of crazy quilt piece facing up, pin hanger ribbon edges at top points of heart, with edges overlapping outside about 1" (you could go less), and inside loop of ribbon (which is not twisted). Place backing heart piece (right side down) over first heart- repin on ribbon hangers.
How this looks inside:
Begin sewing pillow. (The one below doesn't have the ribbon hanger). Use a 1/4" hem, or slightly more, being sure to include all fabrics. Notice where the pins in the next picture are- begin sewing at bottom pin, around lower point of heart, up around sides, around top, and stopping at top pin. Leave about 2 1/2-3" unsewn between pins for turning right side out. This is my method of not handsewing the difficult point at the end nor the visible parts at the top.
Trim off any ribbon ends or excess fabric that is very large. (No need to trim regular hems). Separate fabrics with fingers and very carefully pull pillow right side out. You may use a pin to pull out corners, being very careful not to pierce the fabric. Begin stuffing with fiberfill in the top area opposite the raw edge. Small pieces work better to fill in. Stuff firmly down opposite edge to point. Keep stuffing until pillow is fairly firm, not so tight that you can't sew the seam. Place a small amount of good quality candle shavings or lavender bath seeds, etc. inside a small wad of fiberfill. Squeeze a little to release scent- place inside pillow, not under embroidery. (Once I used a cotton ball with a drop of essential oil and it leaked through to the front, so dry scents are better). Choose a sewing thread that compliments your fabrics and sew a very tiny seam up sides to close raw edges. Knot about 3 times at end and push needle through back of heart to outside- cut thread end so that it disappears inside the fiberfill of pillow.
|