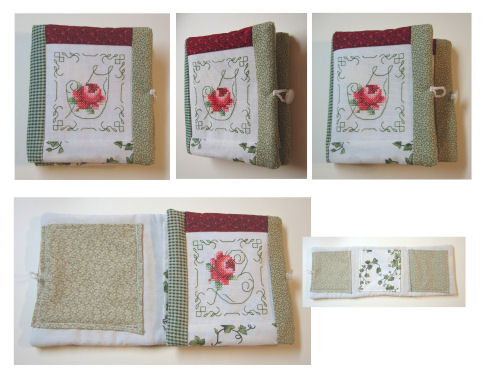
Treasure or Pocket Book Tutorial (c) 2012 Angie Kowalsky
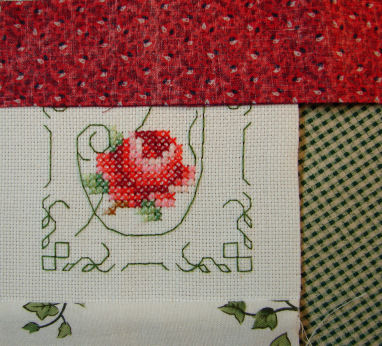
(Design shown is #104 Letters Of Love Alphabet).
Size: Your finished size will depends on the finished Cross Stitch size. My finished size was 5 x 5 1/2" using designs that were 31 w x 33 h.
Materials: 2 finished Cross Stitch pieces the same size. One will be for the front of the book and one for the center of the book. My border margin was 7 squares around the finished stitching. 8 complimentary 1 1/2" strips wide cotton quilting fabrics. (I chose the same colors for each Cross Stitch border). Length of strips is not exact- you will trim off what you don't need. Fleece (light-colored so as not to show through fabric) Lining fabric (neutral- I used Muslin) Center Square and Pocket fabric of complimentary colors Button, size 10 crochet thread and size 10 crochet hook for loop (or you may use thin ribbon).
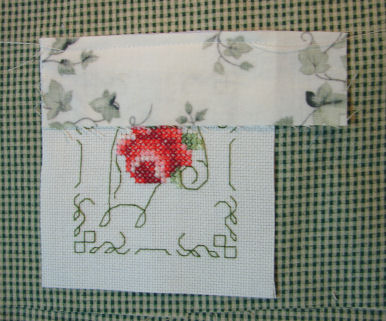
Directions: Step 1. Press all fabrics. Begin with your top and bottom fabric strips for the finished Cross Stitch piece. With raw edges aligned to one end and side of the Cross Stitch piece, lay the strip right sides facing. (This is also how you make a basic pillow). Sew across with a 1/4" hem.
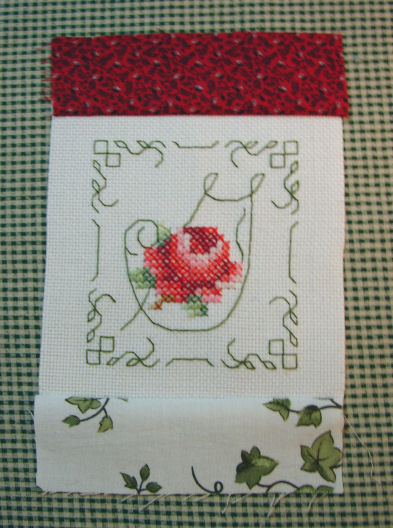
It will look like this when right side out.
Turn over and carefully trim off excess even with finished Cross Stitch (try to stay perfectly even with your cutting or finished piece may be off slightly).
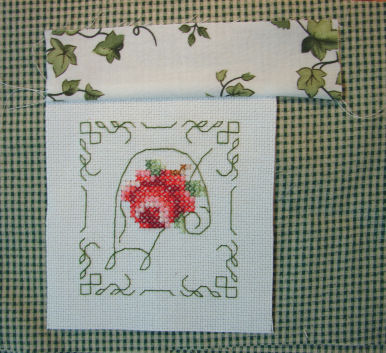
Step 2. Place strip opposite first strip sewn on and sew and trim exactly the same way.
Your piece should look like this:
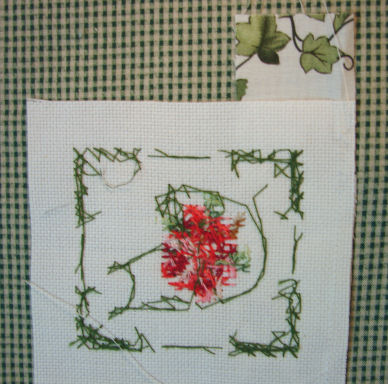
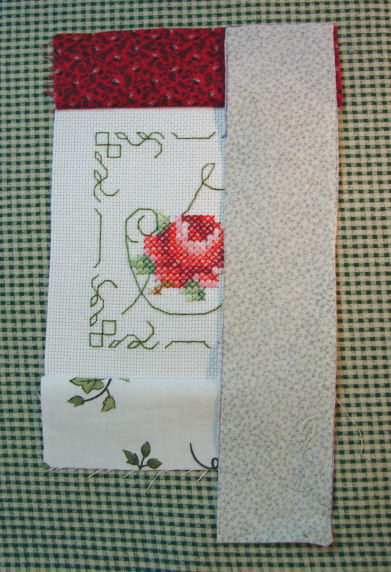
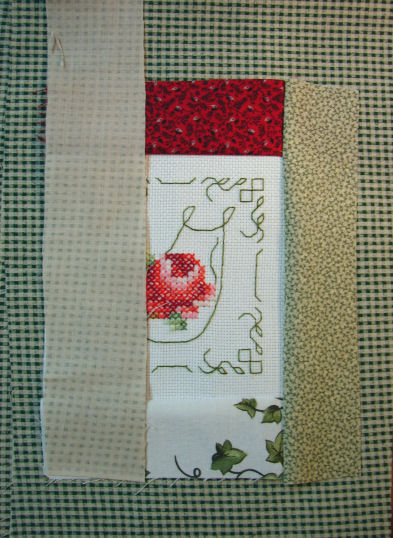
Step 3. Laying a side strip with raw edges aligned to one side of Cross Stitch (and covering both strips just joined), sew seam with a 1/4" hem. Trim.
Step 4. Lay opposite side strip with raw edges aligned to opposite side of Cross Stitch (covering top and bottom strips joined), sew seam with a 1/4" hem. Trim.
Step 5. Repeat the same steps of adding strips for the 2nd Cross Stitch piece.
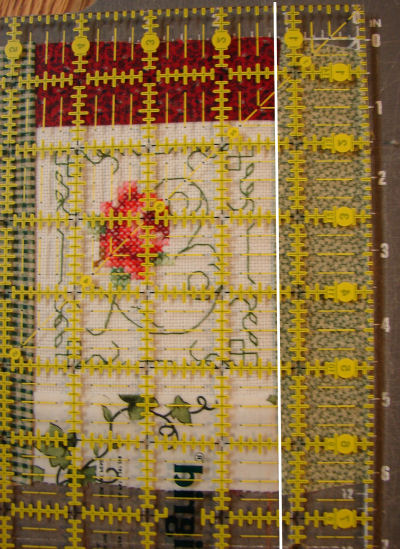
Step 6. Optional: You can place a quilting template over the finished pieces to be sure that you "square" the quilt squares, in other words- check the distance between the seam of the Cross Stitch piece (see white line) and the side of the strip- trimming off any excess. (Do this on each side).
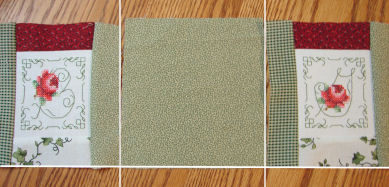
Step 7. Cut a center piece the same size as your finished Cross Stitch pieces. Lay these right side facing up in this order, from left to right: 1- 2nd picture of book, 2- back of book, and 3- first picture of book. Sew a 1/4" seam, right sides together, down each of these sections shown by vertical white lines. (The horizontal line is there to show you that you need to line these edges up with each other).
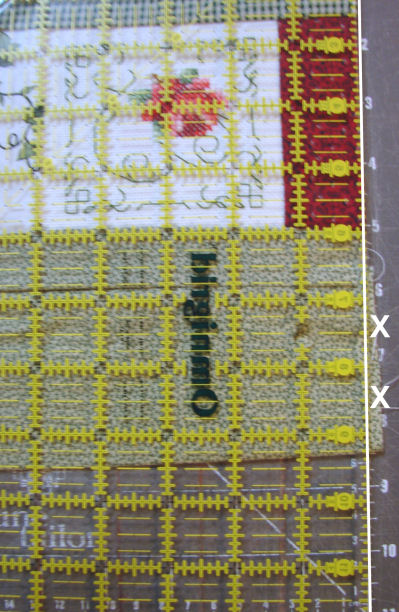
Step 8. At this point I folded the piece in half with short edges together, then placed my quilting template at the top edge and trimmed off excess. (See white X's) (Your bottom edge should be perfectly straight as you lined up those edges in Step 7.
|